You want DIY makeup remover wipes? You are in the right place. Let’s make it with materials you already have in your home. Scroll down to the bottom for a video on how I make it.
Supplies needed to make reusable pads?
You only need a small list of items to make these wipes. Find alternatives if you don’t have any of the below.
- Download the template & print it
- An old towel from your linen cupboard - 100% cotton - Spotted or stained, it won't matter
- Cotton fabric - 100% cotton is always better. And old pillowcase or flat sheet would do the job
- Sewing machine - Can be handsewn using back stitch
- Thread, scissors and pins or clips

Steps to make reusable pads

Part 1
- Cut the templates out and decide the shape you want to use. For beginners, the square patterns are easier to make.
-
Lay the cotton fabric over the towel and pin them together in the corners.
If your cotton fabric is printed, then place the print facing down towards the towel.
If your towel has spots or stains, make sure the nice side without the marks faces the cotton print. - Now place the template on top and cut both layers together. Remember, the template has 2 lines - one solid which is the cutting line and the dotted line is the sewing line
- Once cut, pin the layers together using pins or clips. This makes sure the fabrics don't move out of position while you sew and turn corners.
- Mark the start and ending positions as marked on the template.
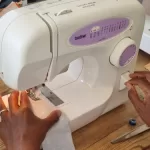
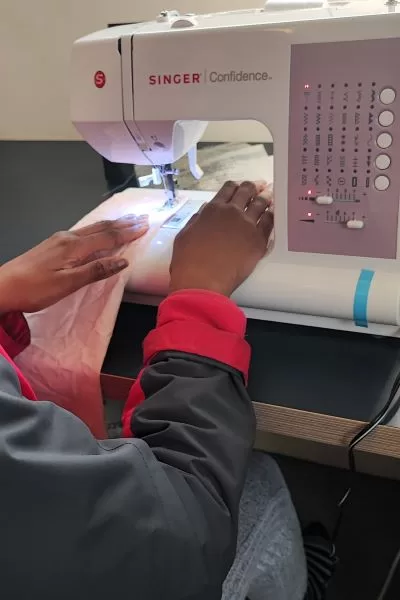
- Set up your sewing machine ready to sew.
Part 2
- Start sewing from the start position, making sure both layers are sewn together. The pattern allows for a 1cm seam allowance, meaning you will be sewing 1cm from the edge.
- When you hit a corner, keep the needle in, lift the presser foot, swivel the fabrics together, lower the presser foot and continue sewing.
- Repeat for all 4 corners.
- Stop sewing when you hit the end marker and secure it with few back stitches before taking it off the machine
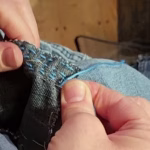
- Snip the edges, making sure to snip through the stitching, to help define the corners when you turn them inside out.
Part 3
- Through the opening you have left unsewn, turn the wipe inside out.
- The printed side of the cotton (if it was a printed fabric) will show and all the stitching will be hidden inside
- Use a blunt pencil or blunt chopstick (wagamama chopsticks are great) and poke out the corners.
- Fold in the seam allowance of the opening and sew the opening shut with a top stitch.
- Optionally, you can sew all the way around the edges.
- Optionally, you can iron the wipe to give it a crisp look.
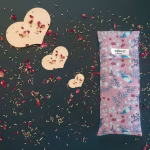
Your makeup wipe is all done and ready to use. Repeat the above process for all the wipes in the pack. Hope you have enjoyed DIY makeup remover wipes and will teach others to make it too.